Accidents involving a knocked-out tooth can be distressing and painful. Understanding the correct steps to take immediately after a tooth avulsion can make the difference between saving or losing the natural tooth. Acting quickly and confidently is vital to achieve the best possible outcome.
Immediate Steps to Take After Tooth Avulsion
When a permanent tooth is completely displaced from its socket, the situation becomes a dental emergency. Quick action within the first 30 minutes significantly increases the likelihood of successful reimplantation. Follow these steps without delay:
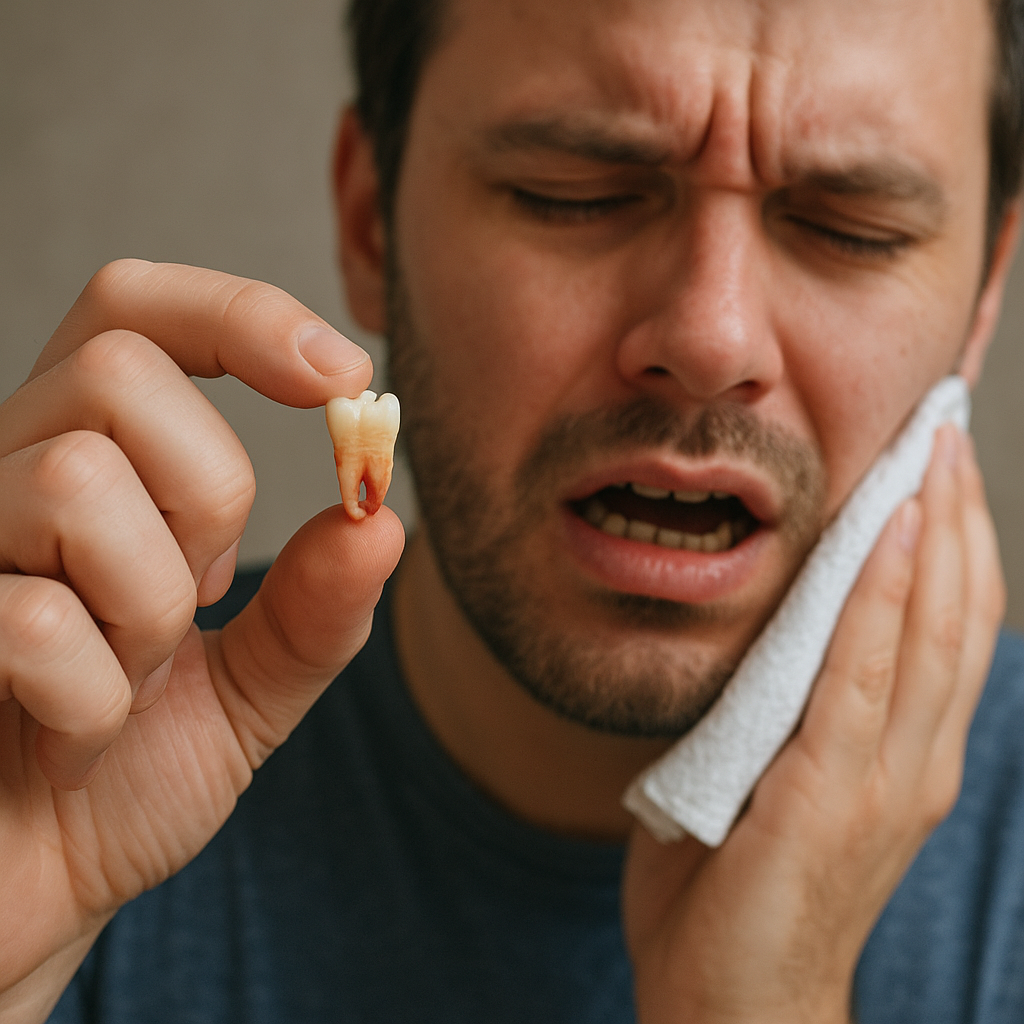
- Locate the tooth: Find the knocked-out tooth and pick it up by the crown, avoiding contact with the root to prevent damage to delicate cells.
- Examine for damage: Check for cracks or chips. If the tooth is severely broken, do not attempt to reinsert it; instead, bring the fragments to the dentist.
- Handle with care: Avoid scrubbing or wiping the tooth. This can remove vital periodontal ligament cells necessary for reattachment.
- Rinse gently: If dirty, rinse the tooth under cold running water for no more than 10 seconds. Do not use soap, disinfectants, or a brush.
- Reposition immediately: If possible, try to place the tooth back into its socket, ensuring it faces the correct way. Gently push it until it fits snugly.
- If reinsertion isn’t possible, preserve the tooth in a specialized saline solution or milk to maintain preservation of periodontal cells.
Preserving the Knocked-Out Tooth
Proper preservation is time-critical. Dry storage or wrapping the tooth in a tissue drastically reduces the chance of a successful reimplantation. Use one of these recommended methods:
- Save-A-Tooth® kit: A commercial tooth preservation kit contains a buffered solution that keeps cells alive for hours.
- Cold milk: Milk provides an optimal pH and osmolality to help protect the root surface.
- Saline or saline-soaked gauze: A sterile saline solution is better than water alone, as it reduces osmotic shock to cells.
- Patient’s saliva: As a last resort, the patient can hold the tooth between the cheek and gums—careful not to swallow it.
Label the container with the patient’s name and the time of avulsion. Transport the tooth and preservation medium directly to the dental office.
Transporting to the Dental Professional
Once the tooth is stabilized in a suitable medium, it’s crucial to reach a dentist as quickly as possible. The prognosis drops with every passing minute:
- Call ahead: Contact the dental office or an emergency clinic to alert them of an incoming avulsion case.
- Bring dental records: If available, provide recent radiographs or treatment history to inform the dentist about periodontal condition.
- Manage pain and bleeding: Apply gentle pressure with sterile gauze to control bleeding. Over-the-counter pain relievers can help—avoid aspirin in children.
Upon arrival, the dentist will assess the patient’s overall health, perform a clinical and radiographic examination, and decide on the best course of action for reimplantation.
Clinical Reimplantation Procedure
The dentist follows a meticulous protocol to reinstate the tooth:
- Local anesthesia: Ensures patient comfort during the procedure.
- Socket cleaning: Irrigation removes debris and blood clots, preparing a clean environment for the tooth.
- Tooth conditioning: Some clinicians apply a biocompatible agent to the root surface to promote cell viability.
- Surgical reimplantation: The tooth is gently inserted into the socket and aligned with adjacent teeth.
- Stabilization: A flexible splint is bonded for 7–14 days to immobilize the tooth while allowing slight physiological movement.
Antibiotic coverage and a tetanus booster may be administered based on the contamination level. The dentist will provide detailed aftercare instructions.
Post-Reimplantation Care and Follow-Up
After the tooth is secured, the patient must adhere to strict care guidelines to support healing:
- Oral hygiene: Use a soft-bristled toothbrush and an antiseptic mouthwash. Avoid vigorous rinsing for the first week.
- Diet modifications: Consume soft foods, avoiding hard or sticky items that could dislodge the splint.
- Medication compliance: Finish the prescribed course of antibiotics and take analgesics as directed.
- Smoking cessation: Tobacco use can impede regeneration of periodontal tissues.
Schedule follow-up visits at 2 weeks, 4 weeks, 3 months, 6 months, and one year. Periodic radiographs will monitor root integrity and rule out complications such as root resorption or ankylosis.
Long-Term Prevention and Care
Preventing future avulsions involves both personal and professional strategies:
- Protective gear: Athletes should wear custom-made mouthguards during contact sports.
- Regular dental check-ups: Routine exams help identify risk factors like malocclusion or periodontal disease.
- Education: Teach children and adults safe habits to minimize falls and collisions.
- Nightguards: For patients with bruxism, a nightguard reduces stress on teeth and surrounding tissues.
Effective prevention is a partnership between the patient and the dental team. Proper education and regular maintenance appointments foster long-term oral health and safeguard natural teeth.